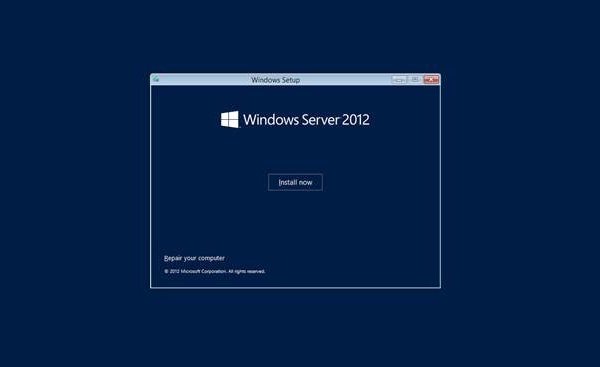
Step 5 − Click “Install now”.
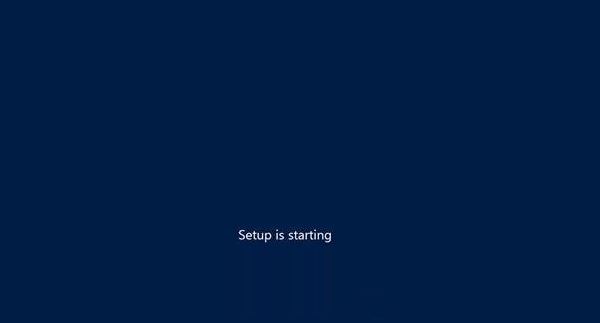
Step 6 − Once you have clicked on Install Now, the setup will start and it will load all the files and the screen will look as shown in the following screenshot.
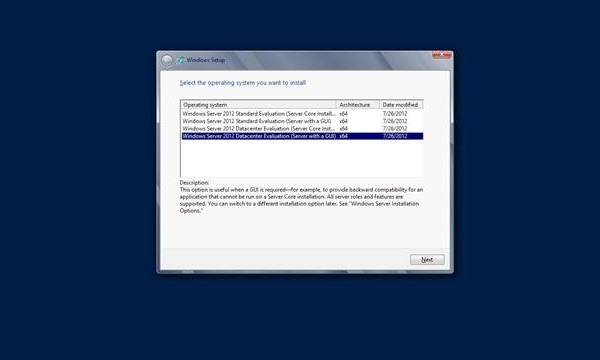
Step 7 − Wait until the files are loaded and then you will see the following screen. Let’s select Windows Server 2012 DataCenter Evaluation (Server with GUI) and click Next.
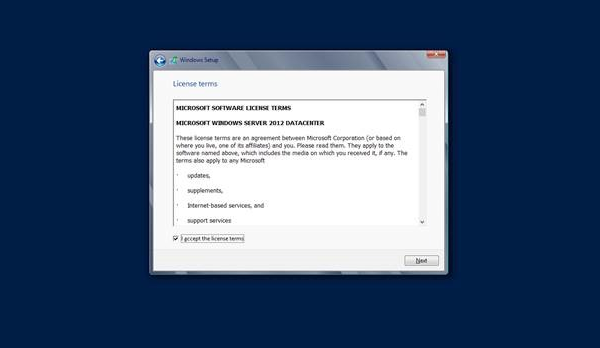
Step 8 − Click “I accept the license terms” and then click on the Next button as shown in the following screenshot.
Step 9 − The following screen will appear. In “Driver Options” you can create a new partition, delete or format the Hard disk. After you have done this process then you can select the partition where the Windows server 2012 R2 will be installed in our case we have one partition. Once all this is done, then click on Next.

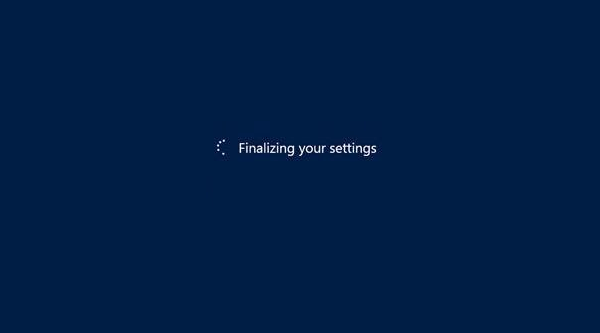
Step 10 − Let’s wait until this process finishes during this time and then the server will reboot.
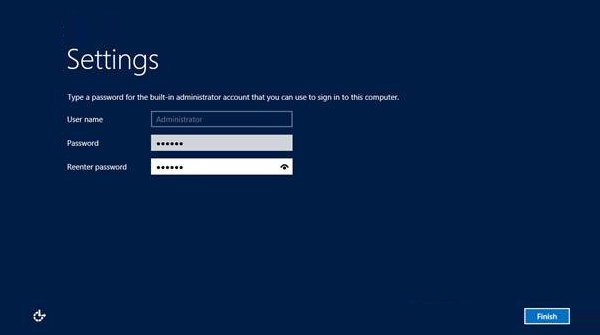
Step 11 − Once the reboot is done the following screen will appear. Set the password for the server and then click on “Finish”.
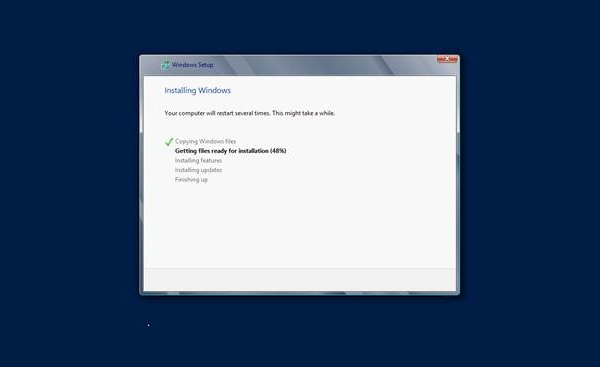
Step 12 − It will take some minutes until the setup finishes completely.
Step 13 − Once all this is done, you have completed the installation process and the following screen will appear.
Congratulations!!!
Windows Server 2012 - Server Roles
Like the previous version, Windows Server 2012 has the following roles which can be used and in the subsequent chapter, we will see how to install and configure the most important ones.
The following picture shows all the roles. A small reminder! - Roles and Features are the tools that you need to install or activate in order to complete your IT Administration duties, without their installation you cannot do anything.

To add a role in the server we should adhere to the following steps −
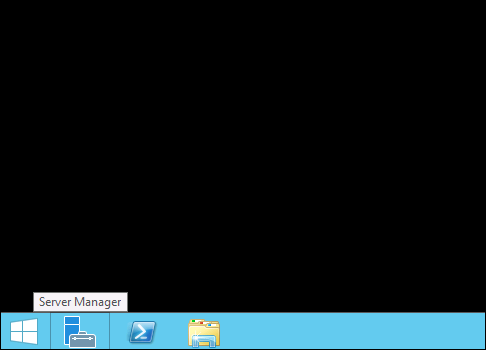
Step 1 − Click with the mouse on Server Manager which is found in the task bar as shown in the following screenshot.
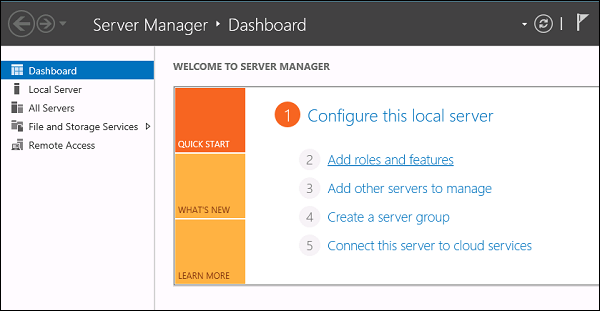
Step 2 − After opening the “Server Manager”, click on the second option “Add roles and features”.
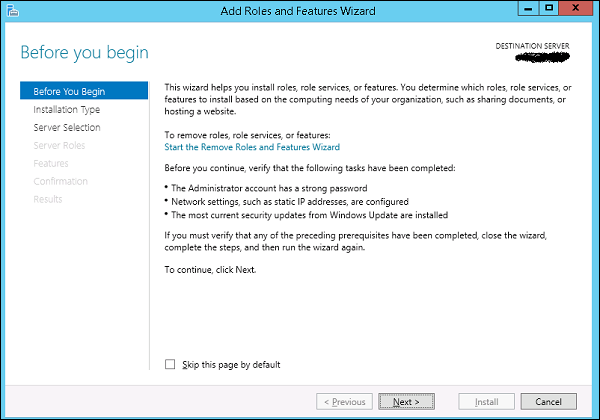
Step 3 − The following screen will appear, then you can Click on the Next button.
Step 4 − Select the Role-based or feature-based installation and then click on the Next button.

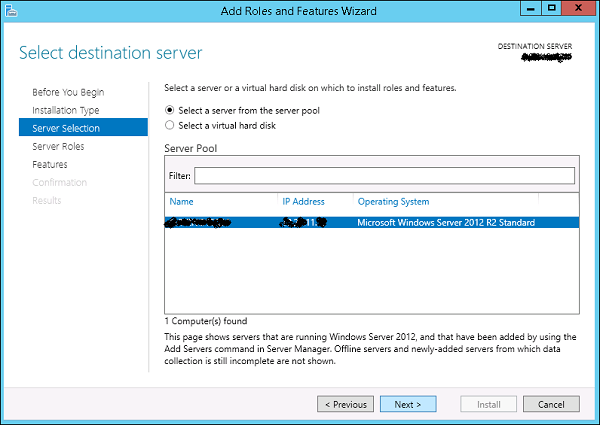
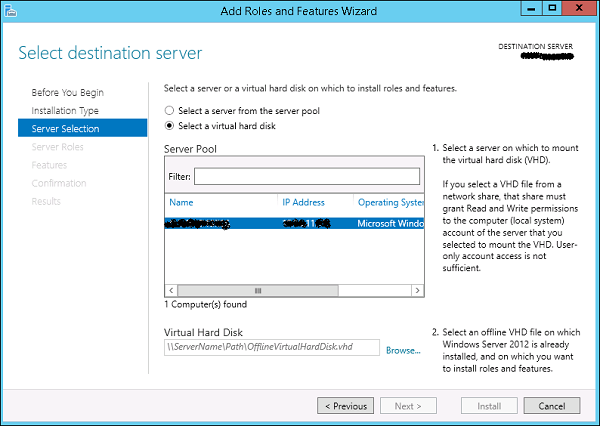
In the next screen that appears, you will have the following two options −
Option 1 − Select a server from the server pool. This option is – if you want to install the services in the physical server like being done in the following screenshot.
Option 2 − Select a virtual Hard disk if you want to install the services in a virtual disk that can be somewhere in the network storage. Take a look at the following screenshot for better understanding.
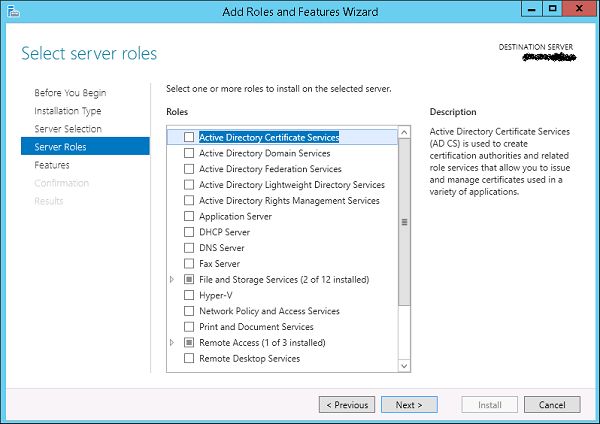
Step 5 − The last step will be to check the service that you want to install, but in the upcoming chapters we will continue this setup for each and every important services.
Windows Server 2012 - PowerShell
Windows PowerShell is a command-line shell and scripting language designed especially for system administration. It’s analogue in Linux is called as Bash Scripting. Built on the .NET Framework, Windows PowerShell helps IT professionals to control and automate the administration of the Windows operating system and applications that run on Windows Server environment.
Windows PowerShell commands, called cmdlets, let you manage the computers from the command line. Windows PowerShell providers let you access data stores, such as the Registry and Certificate Store, as easily as you access the file system.
In addition, Windows PowerShell has a rich expression parser and a fully developed scripting language. So in simple words you can complete all the tasks that you do with GUI and much more.
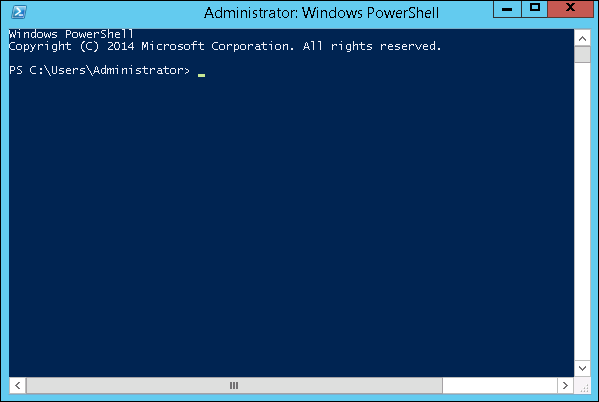
PowerShell Icon can be found in the task bar and in the start menu. Just by clicking on the icon, it will open.
To open it, just click on the icon and then the following screen will open and it means that PowerShell is ready for you to work on.
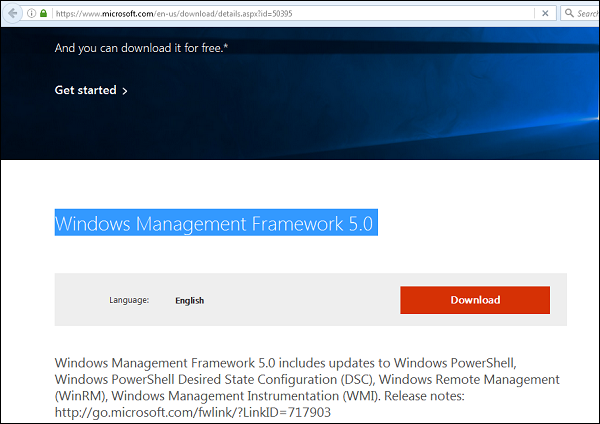
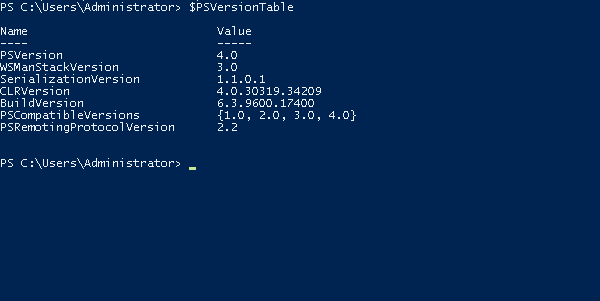
The latest version of PowerShell is 5.0 and to check what is installed in our server we type the following command – :$PSVersionTable as shown in the following screenshot and from the screen we also know that we have PSVersion 4.0
To update with the latest version where it has more Cmdlets we have to download Windows Management Framework 5.0 from the following link − https://www.microsoft.com/en-us/download/details.aspx?id=50395 and install it.